7 min read • 1,536 words
How to Create a Virtual Machine on Windows 11
In today’s digital landscape, virtualization has become an essential tool for developers, IT professionals, and tech enthusiasts alike. Understanding how to create a virtual machine on Windows 11 is crucial for anyone looking to test software, run different operating systems, or isolate applications. Windows 11 comes equipped with Hyper-V, a powerful built-in virtualization platform that allows users to create and manage virtual machines with ease. This article will guide you through the process of enabling Hyper-V and setting up your first virtual machine, ensuring you have a solid foundation for your virtualization needs.
By following the steps outlined here, you will learn how to access the Windows Features dialog to enable Hyper-V, navigate the Hyper-V Manager interface, and configure your virtual machine’s settings, including memory, CPU, and network adapters. Additionally, you’ll discover the differences between Generation 1 and Generation 2 virtual machines, allowing you to choose the best option for your projects.
Step-by-Step Tutorial
Step 1: Enable Virtualization in BIOS
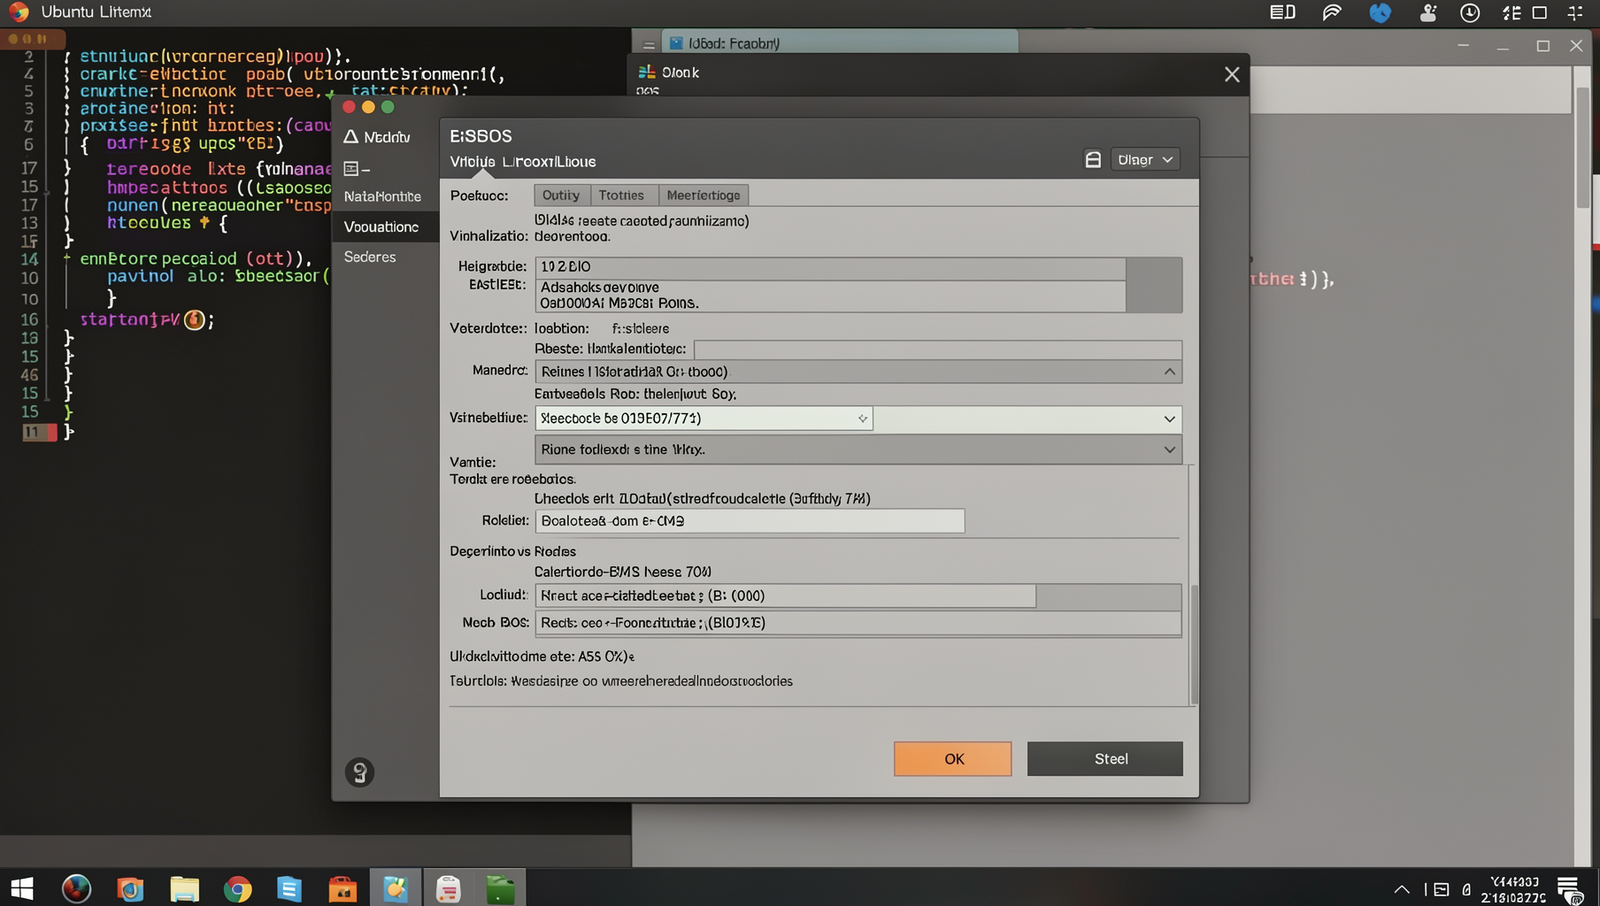
To create a virtual machine on Windows 11, the first step is to enable virtualization in your computer’s BIOS. This feature allows your system to run virtual machines efficiently. Follow these detailed instructions to enable virtualization:
- Restart your computer. As it boots up, pay close attention to the screen for instructions on entering the BIOS setup. This is usually done by pressing one of the following keys:
F2,F10,DEL, orESC. The exact key may vary depending on your motherboard manufacturer. - Once you successfully enter the BIOS setup, navigate through the menu using your keyboard. Look for a tab or section labeled “Advanced,” “CPU Configuration,” or something similar. The terminology may differ based on your BIOS version.
- Within this section, search for an option labeled “Intel VT,” “Intel Virtualization Technology,” “AMD-V,” or simply “Virtualization.” Ensure that this option is set to “Enabled.” If it is not, use the appropriate key (often
Enteror+/-) to change the setting. - After enabling virtualization, navigate to the “Exit” tab. Make sure to select the option to “Save Changes and Exit.” This step is crucial; otherwise, your changes will not take effect.
Before proceeding, check your CPU compatibility with virtualization. If you are unsure about any BIOS settings, refer to your motherboard’s manual for guidance. Remember, saving changes before exiting the BIOS is essential to avoid losing your settings.
Step 2: Install Windows 11 Pro or Enterprise
To create a virtual machine using Hyper-V, you must ensure that you are running Windows 11 Pro or Enterprise. If you are currently using Windows 11 Home, you will need to upgrade to access Hyper-V features. Follow these steps to confirm your version and upgrade if necessary:
-
Check Your Windows Version:
– PressWindows + Rto open the Run dialog.
– Typewinverand pressEnter.
– A window will appear showing your Windows version. Ensure it states “Windows 11 Pro” or “Windows 11 Enterprise.” -
Upgrade from Windows 11 Home:
– If you find that you are using Windows 11 Home, you can upgrade to Pro via the Microsoft Store.
– Open the Settings app by pressingWindows + I.
– Navigate to System and then select About.
– Click on Upgrade your edition of Windows.
– Follow the prompts to purchase and install the upgrade. -
Backup Your Data:
– Before upgrading, it is crucial to back up your important files.
– Use File History or any other backup solution to ensure your data is safe.
Remember, Windows 11 Home does not support Hyper-V, so upgrading is essential to utilize this feature effectively.
Step 3: Enable Hyper-V Feature
To create a virtual machine on Windows 11, you need to enable the Hyper-V feature. Follow these detailed sub-steps to ensure that Hyper-V is activated on your system:
1. **Open Control Panel**: Click on the Start menu and type “Control Panel” in the search bar. Select the Control Panel from the search results.
2. **Navigate to Programs**: In the Control Panel window, locate and click on the “Programs” option. This will take you to a new screen with additional options related to programs and features.
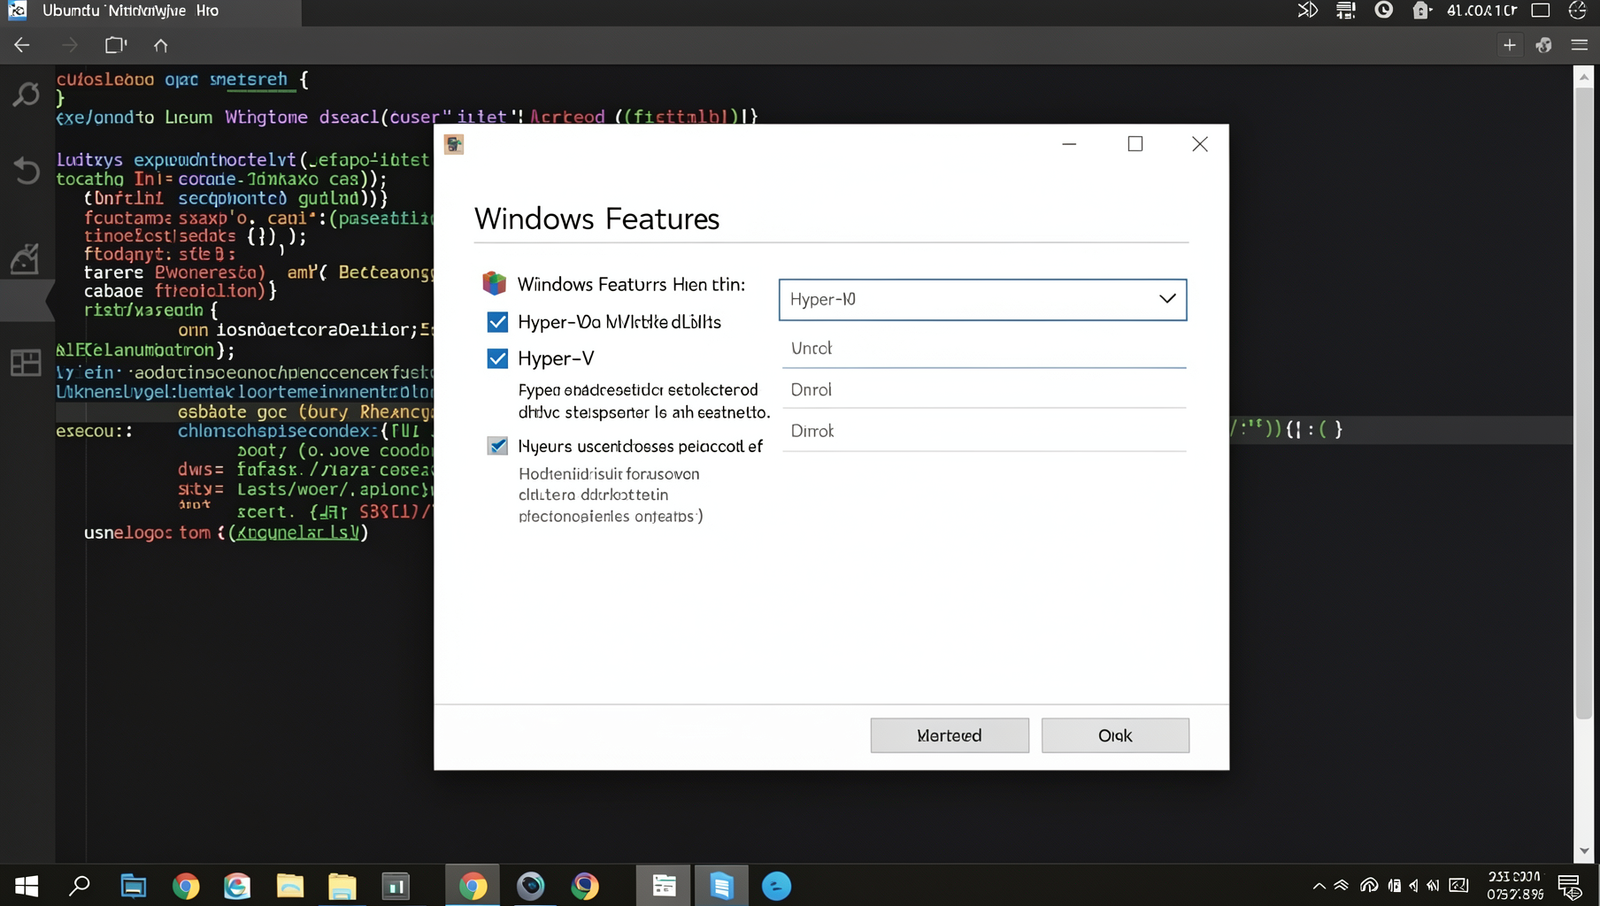
3. **Turn Windows features on or off**: Under the Programs and Features section, find and click on the link that says “Turn Windows features on or off.” This will open a new dialog box displaying a list of Windows features that can be enabled or disabled.
4. **Check the Hyper-V box**: In the Windows Features dialog, scroll down until you find “Hyper-V.” Check the box next to Hyper-V to enable it. Make sure to also check the sub-options for Hyper-V Management Tools and Hyper-V Platform.
5. **Click OK**: After selecting the Hyper-V options, click the OK button. Windows will begin the installation process for Hyper-V, which may take a few moments.
6. **Restart your computer**: Once the installation is complete, you will be prompted to restart your computer. Make sure to save any open work before proceeding.
After your computer restarts, the Hyper-V feature will be enabled, allowing you to create and manage virtual machines seamlessly.
**Tips**: Alternatively, you can enable Hyper-V using PowerShell. Open PowerShell as an administrator and run the following command:
Enable-WindowsOptionalFeature -Online -FeatureName Microsoft-Hyper-V -All**Warnings**: Ensure that your system meets the requirements for Hyper-V, including hardware virtualization support, which is typically found in the BIOS settings.
Step 4: Open Hyper-V Manager
1. **Press the Windows Key**: Begin by locating the Windows key on your keyboard. This key usually has the Windows logo on it and is typically found between the “Ctrl” and “Alt” keys.
2. **Type ‘Hyper-V Manager’**: Once you press the Windows key, a search bar will appear. Start typing “Hyper-V Manager” into this search bar. As you type, suggestions will populate below the search field.
3. **Press Enter**: After “Hyper-V Manager” appears in the search results, press the Enter key. This action will launch the Hyper-V Manager application.
4. **Verify the Interface**: Upon opening, the Hyper-V Manager interface should display your local server on the left pane. You will see options to create, manage, and configure virtual machines. Familiarizing yourself with this interface is crucial for efficient management of your virtual machines.
5. **Pin Hyper-V Manager to Taskbar**: For quicker access in the future, consider pinning Hyper-V Manager to your taskbar. To do this, right-click on the Hyper-V Manager icon in the taskbar and select “Pin to taskbar.” This will allow you to open it with a single click in the future.
**Tips**: Take some time to explore the various options available in the Hyper-V Manager. Understanding the layout and features will streamline your virtual machine management process.
**Warnings**: Ensure that you have administrative privileges on your Windows 11 system to run Hyper-V Manager successfully. Without these privileges, you may encounter access issues when trying to create or manage virtual machines.
Step 5: Create a New Virtual Machine
1. Open Hyper-V Manager: Begin by launching Hyper-V Manager from the Start menu. This tool allows you to manage your virtual machines effectively.
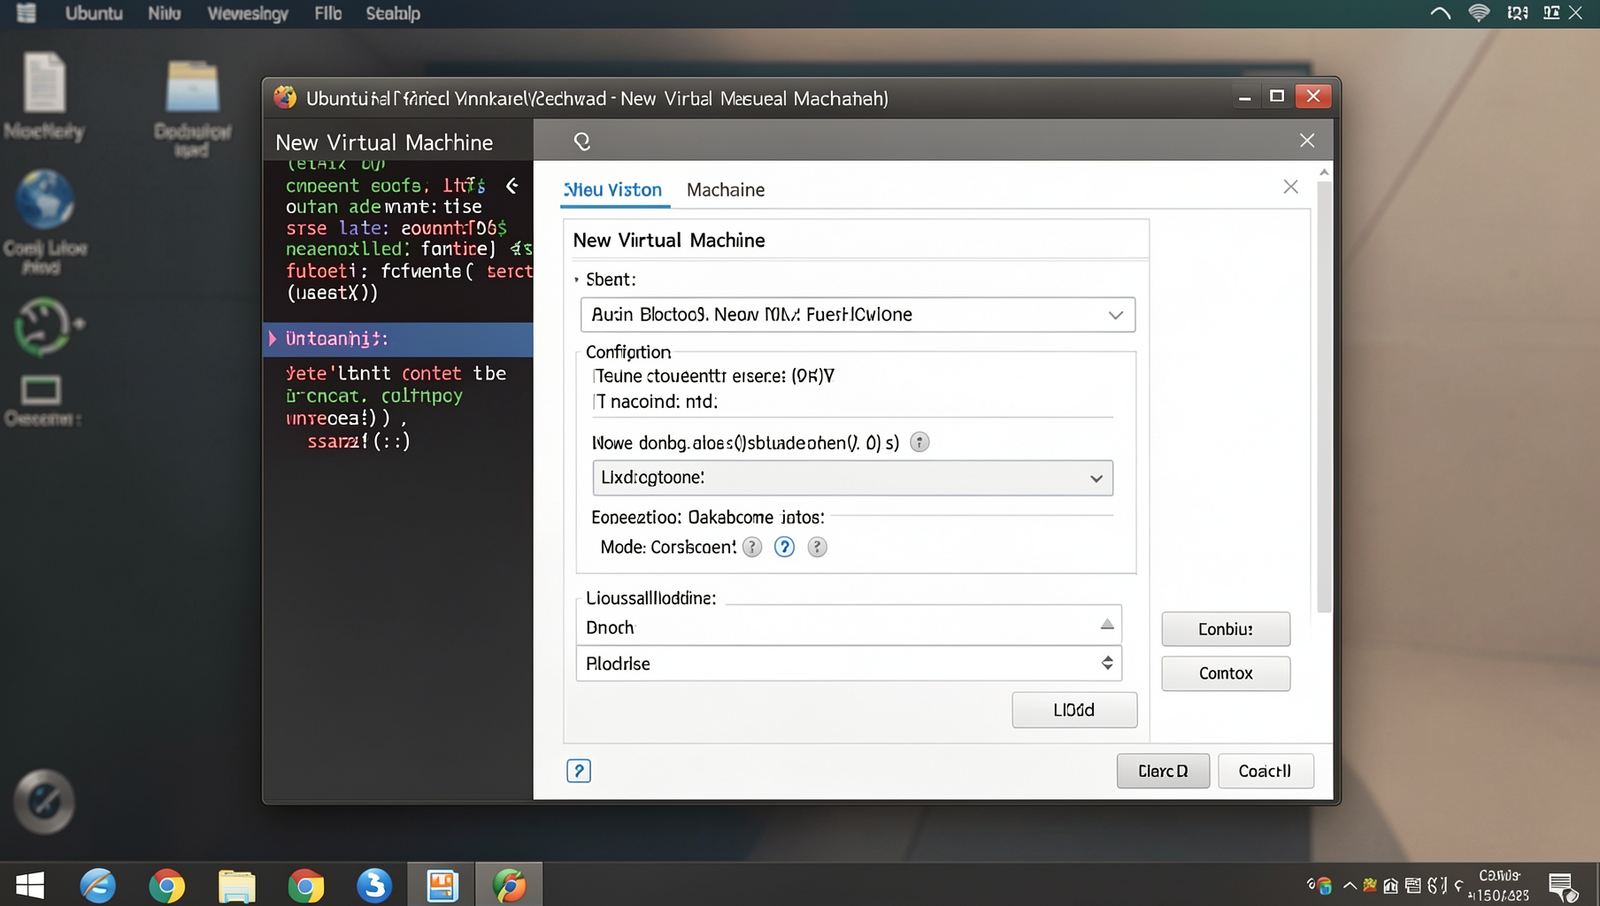
2. Initiate the New Virtual Machine Wizard: In the right-hand pane of Hyper-V Manager, click on ‘New’ and then select ‘Virtual Machine’ from the dropdown menu. This action will open the New Virtual Machine Wizard, guiding you through the creation process.
3. Specify the Name and Location: In the wizard, you will be prompted to enter a name for your virtual machine. Choose a descriptive name that reflects its purpose. You can also specify a location to store the virtual machine files, or you can use the default location.
4. Choose the Generation: You will need to select the generation of the virtual machine. Generation 1 is suitable for older operating systems, while Generation 2 supports newer features and is recommended for modern OS installations.
5. Assign Memory: Allocate the amount of memory for your virtual machine. It is advisable to use dynamic memory, which allows the virtual machine to adjust its memory usage based on demand, optimizing resource management.
6. Configure Networking: If you want your virtual machine to connect to a network, select a virtual switch. This will enable network connectivity, allowing your virtual machine to communicate with other devices.
7. Connect a Virtual Hard Disk: You can create a new virtual hard disk or use an existing one. Specify the size of the virtual hard disk based on your requirements.
8. Install Operating System: Finally, choose how you want to install the operating system. You can use an ISO file, a bootable USB drive, or a network installation.
By following these steps, you will successfully create a new virtual machine with the specified configurations. Always ensure that you allocate sufficient resources, such as CPU and memory, based on your host system’s capabilities to avoid performance issues.
Step 6: Install an Operating System on the VM
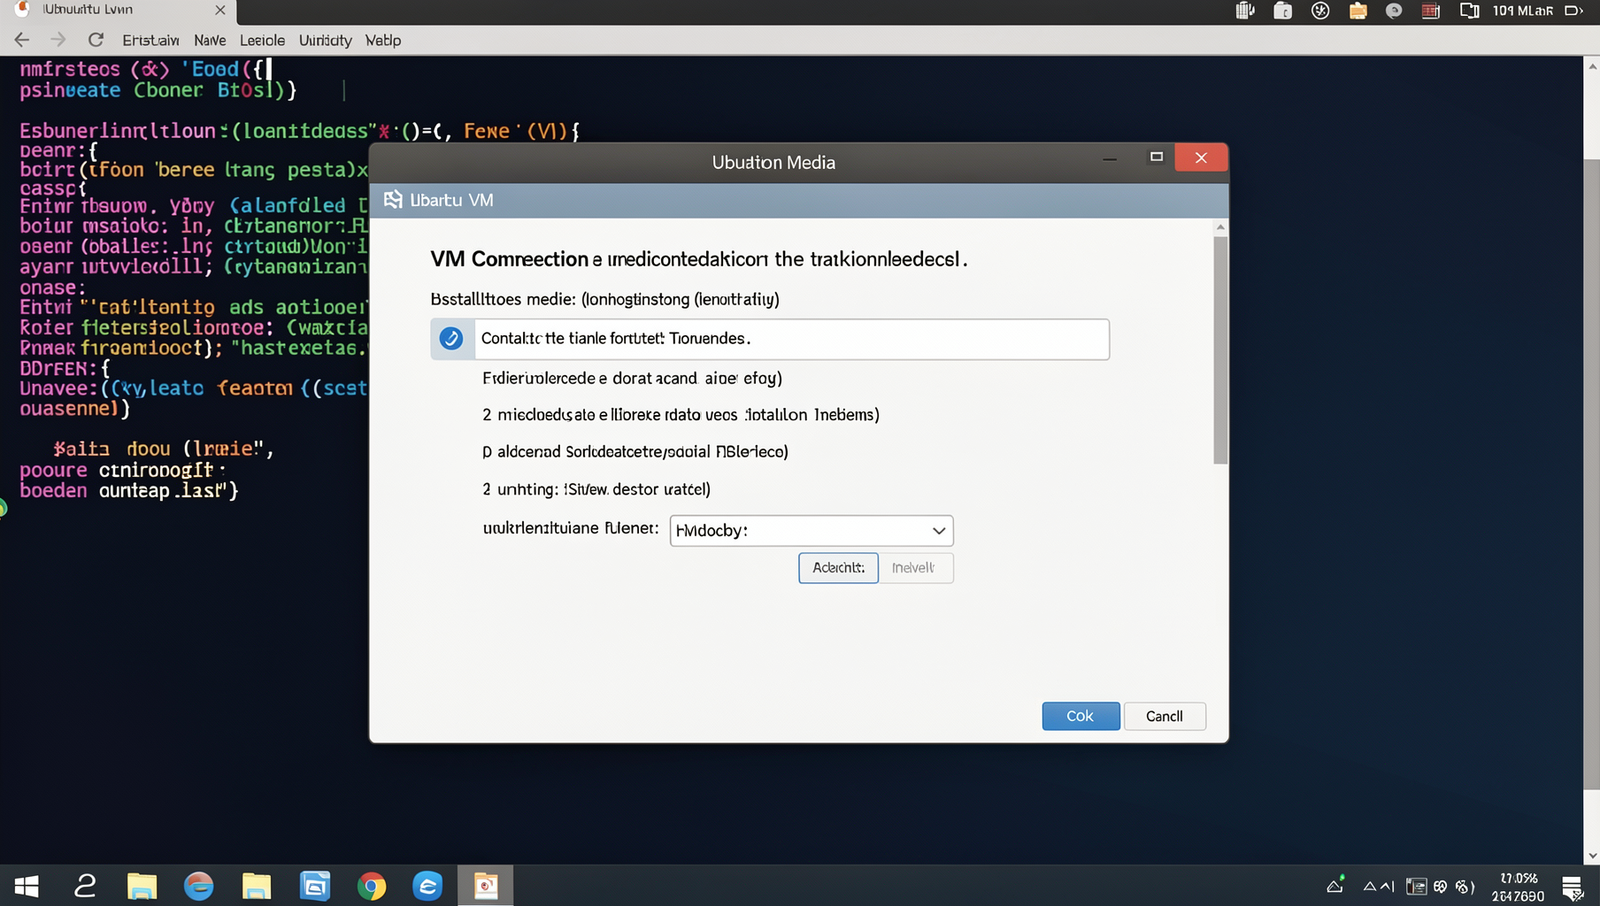
1. **Connect to the Virtual Machine**: Open Hyper-V Manager, locate the virtual machine you created, right-click on it, and select ‘Connect’. This action opens a new window displaying