7 min read • 1,547 words
How to Install and Use Docker Desktop on Windows
In today’s software development landscape, containerization has become a crucial aspect of building, deploying, and managing applications. Docker Desktop is a powerful tool that allows developers to run Docker containers natively on Windows, making it easier to create and manage applications in isolated environments. This article will guide you through the process of how to install Docker Desktop on Windows, ensuring that you can leverage the full potential of container technology.
By following the steps outlined here, you will learn not only how to install Docker Desktop on your Windows 10 or 11 machine but also how to enable WSL 2, which is essential for optimal performance. Additionally, you will discover how to use the graphical user interface (GUI) for managing containers and images, as well as how to access Docker commands via PowerShell or Command Prompt. Understanding these fundamentals will empower you to streamline your development workflow effectively.
Step-by-Step Tutorial
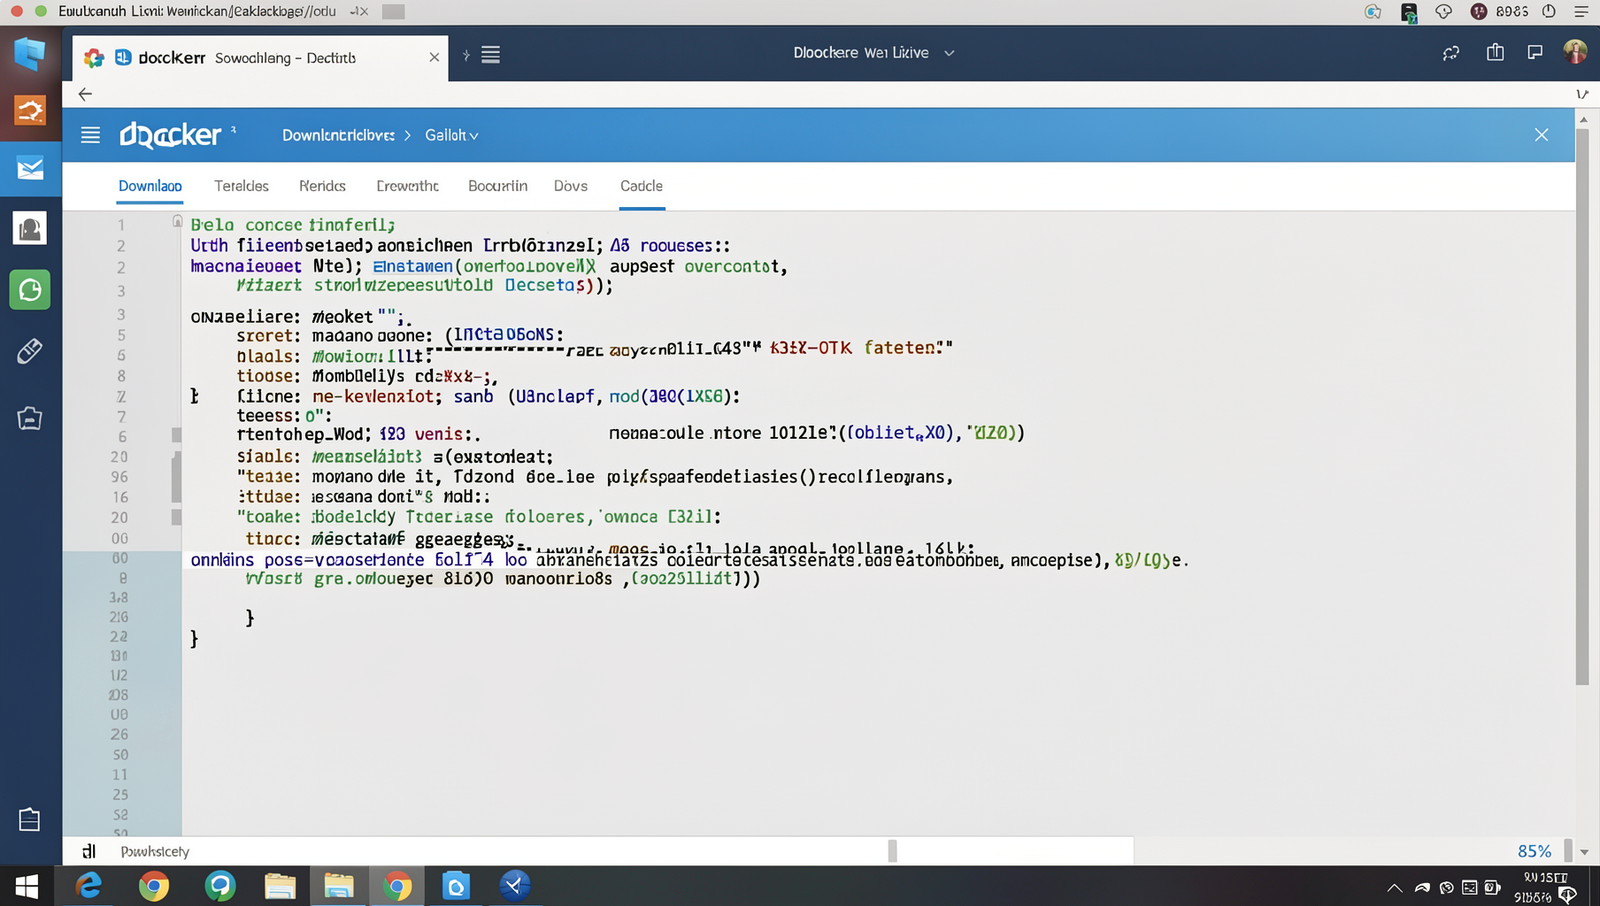
Step 1: Download Docker Desktop
To begin the installation of Docker Desktop on your Windows machine, follow these detailed sub-steps to ensure a smooth download process.
- Visit the Official Docker Website: Open your preferred web browser and navigate to the official Docker website by entering the URL https://www.docker.com/products/docker-desktop in the address bar. This page contains all the necessary information about Docker Desktop, including features and system requirements.
- Download the Installer: Once you are on the Docker Desktop page, locate the ‘Download for Windows’ button. Click on this button to initiate the download process. The installer file will be saved to your default download directory, typically the ‘Downloads’ folder.
- Check System Requirements: Before proceeding, it is crucial to verify that your Windows version meets the requirements for Docker Desktop. Generally, Docker Desktop requires Windows 10 64-bit: Pro, Enterprise, or Education (Build 15063 or later). If you are unsure, you can check your Windows version by right-clicking on ‘This PC’ and selecting ‘Properties.’
- Disable Antivirus Software: To avoid any interruptions during the installation process, consider temporarily disabling any antivirus software you have running. This step can help prevent potential conflicts that may arise during the installation.
Once you have completed these steps, you should have the Docker Desktop installer downloaded successfully, ready for the next phase of installation.
Step 2: Install Docker Desktop
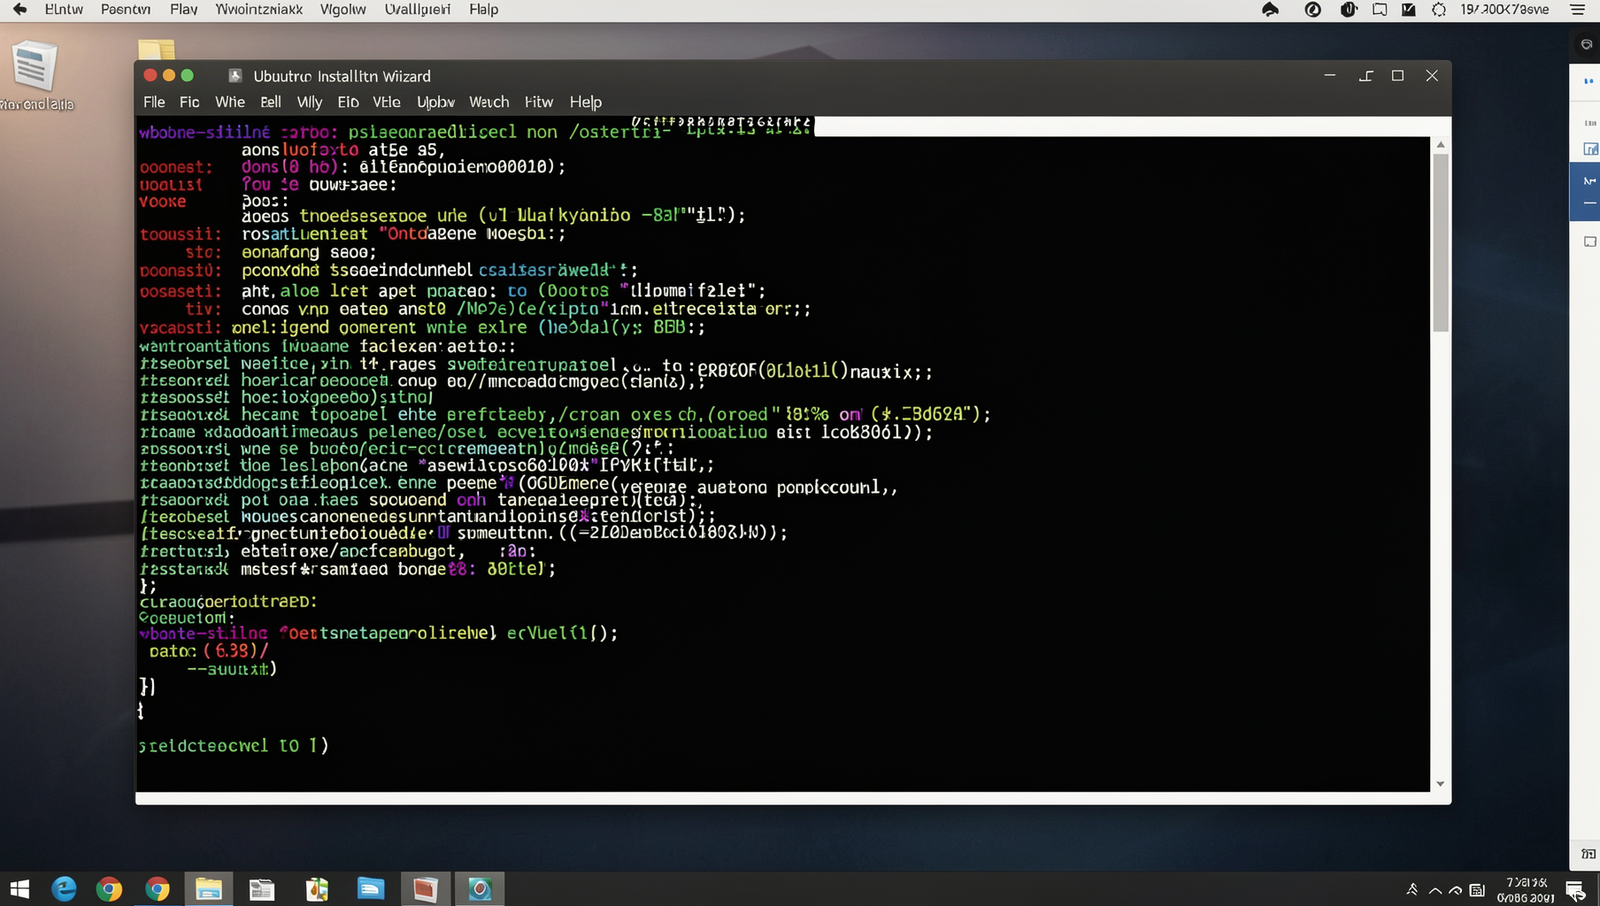
1. **Locate the Installer**: Begin by navigating to the folder where the Docker Desktop installer was downloaded. This is typically the “Downloads” folder on your Windows system. Open File Explorer and look for a file named something like `Docker Desktop Installer.exe`.
2. **Run the Installer**: Once you have located the installer, double-click on the `Docker Desktop Installer.exe` file. This action will launch the Docker Desktop installation wizard.
3. **Follow the Installation Wizard**: The installation wizard will guide you through the installation process. Click on the “OK” or “Next” buttons as prompted. You will need to accept the license agreement to proceed. Make sure to read the terms carefully before accepting.
4. **Enable WSL 2**: If you haven’t already enabled the Windows Subsystem for Linux (WSL) 2 feature, you may be prompted to do so during the installation. If necessary, follow the instructions provided in the wizard to enable WSL 2. You can enable WSL 2 by running the following command in PowerShell as an administrator:
wsl --set-default-version 25. **Complete the Installation**: After following the prompts, the installation will begin. Wait for the process to complete. Once finished, you may be prompted to restart your computer. If so, go ahead and restart to finalize the installation.
6. **Check for Updates**: After installation, it’s a good idea to check for any updates to ensure you have the latest version. Keeping your Windows updated will improve compatibility with Docker Desktop.
By following these steps, you should have Docker Desktop successfully installed on your Windows system.
Step 3: Start Docker Desktop
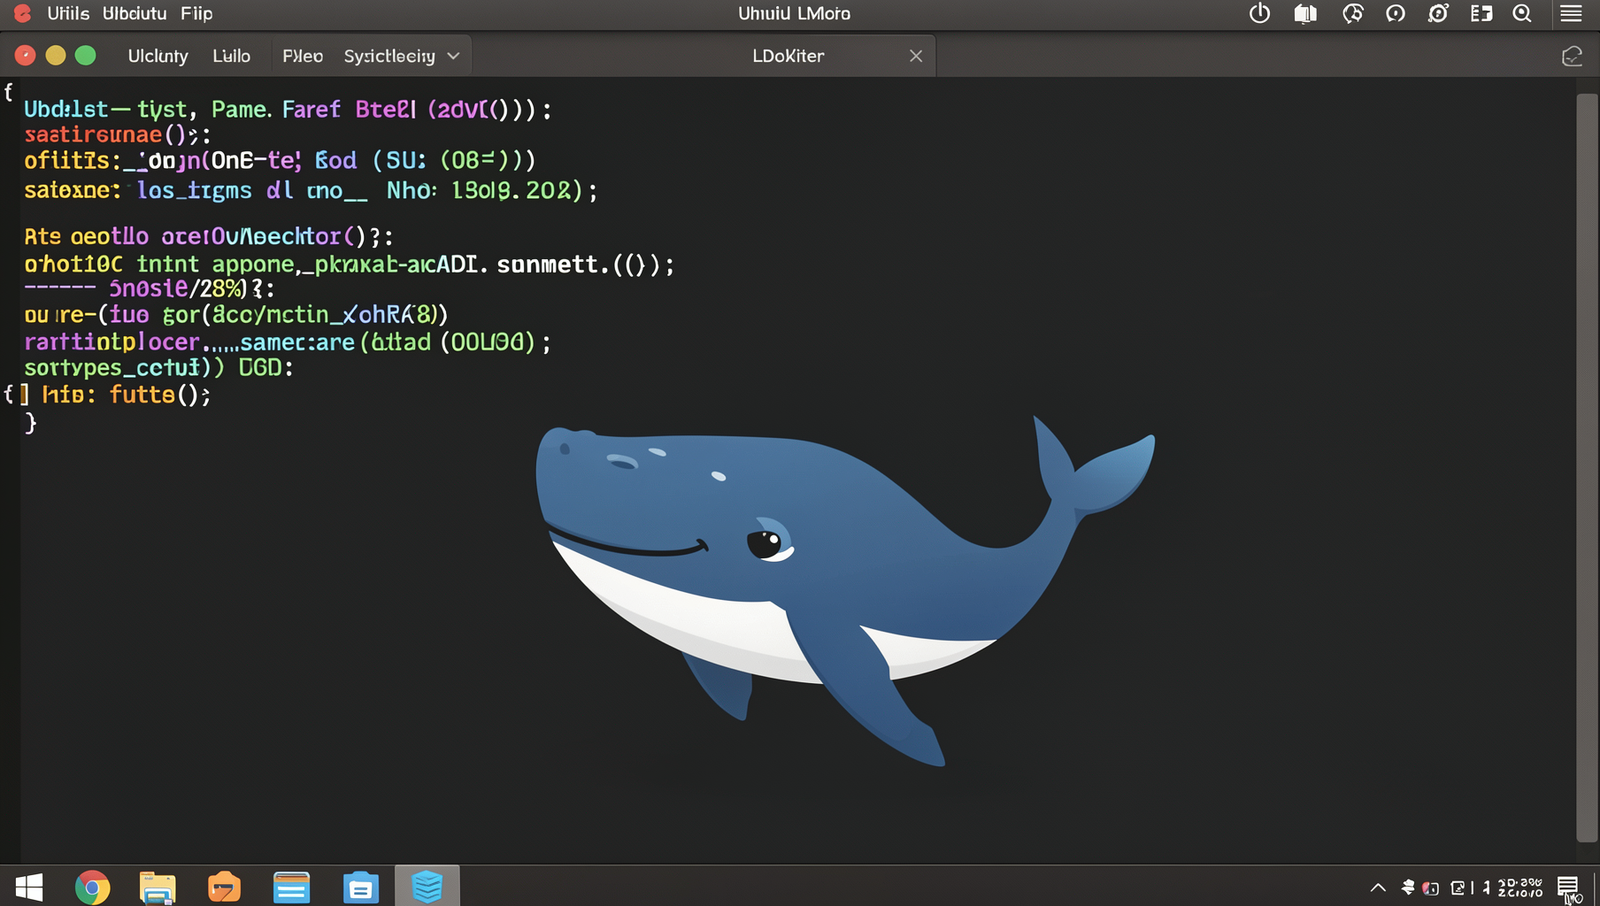
1. **Search for Docker Desktop**: After completing the installation, navigate to the Start menu on your Windows machine. You can do this by clicking on the Windows icon located at the bottom left corner of your screen. In the search bar, type “Docker Desktop” to find the application quickly.
2. **Launch Docker Desktop**: Once you see the Docker Desktop application in the search results, click on it to launch. This action will initiate the Docker Desktop application, and you may notice a brief loading screen as it starts up.
3. **Check the System Tray**: After a few moments, look at your system tray, which is located at the bottom right corner of your screen. You should see the Docker whale icon appear, indicating that Docker Desktop is running. If the icon does not appear, give it a moment, as Docker may take a few moments to start for the first time.
4. **Adjust Settings**: To optimize your Docker experience, right-click on the whale icon in the system tray and select “Settings.” Here, you can adjust resource allocation settings such as CPU, memory, and disk space according to your needs.
5. **Firewall Permissions**: If prompted, ensure that you allow Docker through your firewall. This step is crucial for Docker to function correctly, as it requires network access to pull images and run containers.
By following these steps, you will have Docker Desktop running smoothly on your Windows machine, ready for you to start creating and managing containers.
Step 4: Configure Docker Settings
1. **Access Docker Settings**: Begin by locating the Docker whale icon in your system tray. Right-click on the icon to reveal a context menu. From this menu, select ‘Settings’ to open the Docker Desktop settings window.
2. **Adjust General Settings**: In the settings window, you will find various tabs on the left side. Start with the ‘General’ tab where you can enable or disable features such as the Docker Desktop start-up behavior and experimental features. Make sure to review these options to tailor Docker to your needs.
3. **Resource Allocation**: Next, navigate to the ‘Resources’ tab. Here, you can configure the amount of CPU and memory that Docker can use. Adjust the sliders to allocate resources according to your system’s capabilities. A common recommendation is to allocate 2 CPUs and 4GB of RAM, but this may vary based on your specific use case. Remember, excessive resource allocation may slow down your system.
4. **Enable WSL 2 Integration**: If you are using Windows Subsystem for Linux (WSL) 2, go to the ‘WSL Integration’ tab. Ensure that the integration with your preferred distributions is enabled. This will improve performance and compatibility with Linux containers.
5. **Apply and Restart**: After making your changes, click the ‘Apply & Restart’ button at the bottom right of the settings window. This will apply your configurations and restart Docker Desktop to ensure the settings take effect.
By following these steps, you will have successfully configured Docker settings to optimize performance and resource usage.
Step 5: Pull a Docker Image
To begin using Docker, you need to pull a Docker image from Docker Hub. This step will guide you through downloading a sample image called “hello-world,” which is a simple test image to verify that your Docker installation is working correctly.
1. **Open Command Prompt or PowerShell**: First, you need to launch either the Command Prompt or PowerShell on your Windows machine. You can do this by searching for “cmd” or “PowerShell” in the Start menu.
2. **Run the Docker Pull Command**: Once you have your command line interface open, type the following command to pull the hello-world image:
docker pull hello-worldThis command instructs Docker to download the hello-world image from Docker Hub. Ensure that your internet connection is stable during this process, as interruptions may cause the download to fail.
3. **Verify the Download**: After the command has executed, you should see messages indicating that the image is being downloaded. Once completed, you will receive a confirmation message stating that the hello-world image has been downloaded successfully without errors.
4. **List Downloaded Images**: To see all the images you have downloaded, you can use the following command:
docker imagesThis will display a list of all Docker images stored on your local machine.
5. **Explore Other Images**: Feel free to experiment by pulling other images from Docker Hub. You can search for various images based on your needs and interests, expanding your understanding of Docker’s capabilities.
Step 6: Run a Docker Container
1. **Ensure Docker is Running**: Before you can run a Docker container, make sure that Docker Desktop is up and running on your Windows machine. You can check this by looking for the Docker icon in your system tray. If the icon is not visible, launch Docker Desktop from your applications.
2. **Open Command Prompt**: Once Docker is confirmed to be running, open the Command Prompt or PowerShell. You can do this by searching for “cmd” or “PowerShell” in the Windows search bar and selecting the appropriate application.
3. **Run the Hello-World Container**: To run the hello-world container, type the following command in your command line interface:
docker run hello-worldThis command will create