7 min read • 1,532 words
How to Install Linux Mint on a Windows PC
Installing Linux Mint on a Windows PC can be a transformative experience for users seeking a more customizable and efficient operating system. This guide will walk you through the essential steps to install Linux Mint alongside your existing Windows setup, allowing you to enjoy the benefits of both systems. Whether you’re a seasoned Linux user or a curious newcomer, understanding how to install Linux Mint is crucial for expanding your computing capabilities.
Throughout this article, you will learn how to create a bootable USB drive using tools like Rufus or Etcher, which is one of the first steps to install Linux Mint. Additionally, we will cover the installation process, including the options available during setup, such as ‘Erase disk’ or dual-boot configuration. After installation, you will be able to access both Linux Mint and Windows seamlessly through the GRUB bootloader, enhancing your overall computing experience.
Step-by-Step Tutorial
Step 1: Download Linux Mint
To begin your journey into the world of Linux Mint, the first step is to download the operating system. Follow these detailed instructions to ensure a smooth download process:
1. **Visit the Official Website**: Open your preferred web browser and navigate to the official Linux Mint website at linuxmint.com. This is the most reliable source for obtaining the latest version of Linux Mint.
2. **Navigate to the Download Section**: Once on the homepage, look for the “Download” link in the menu. Click on it to be directed to the download page, where you will find various versions of Linux Mint available for download.
3. **Choose Your Version**: Linux Mint comes in three main desktop environments: Cinnamon, MATE, and Xfce. Each version has its unique features and user interface. Review the descriptions and choose the version that best suits your preferences.
4. **Select the Appropriate Download Option**: After selecting your preferred version, you will see options for downloading the ISO file. You can choose to download directly or use a torrent client for a potentially faster download. If you opt for the torrent, ensure you have a torrent client installed on your computer.
5. **Start the Download**: Click on the download link for your chosen version. The Linux Mint ISO file will begin downloading to your computer.
**Tips**: Before downloading, check the system requirements for Linux Mint to ensure compatibility with your hardware.
**Warnings**: Make sure you have a stable internet connection to avoid any interruptions during the download process.
Step 2: Create a Bootable USB Drive
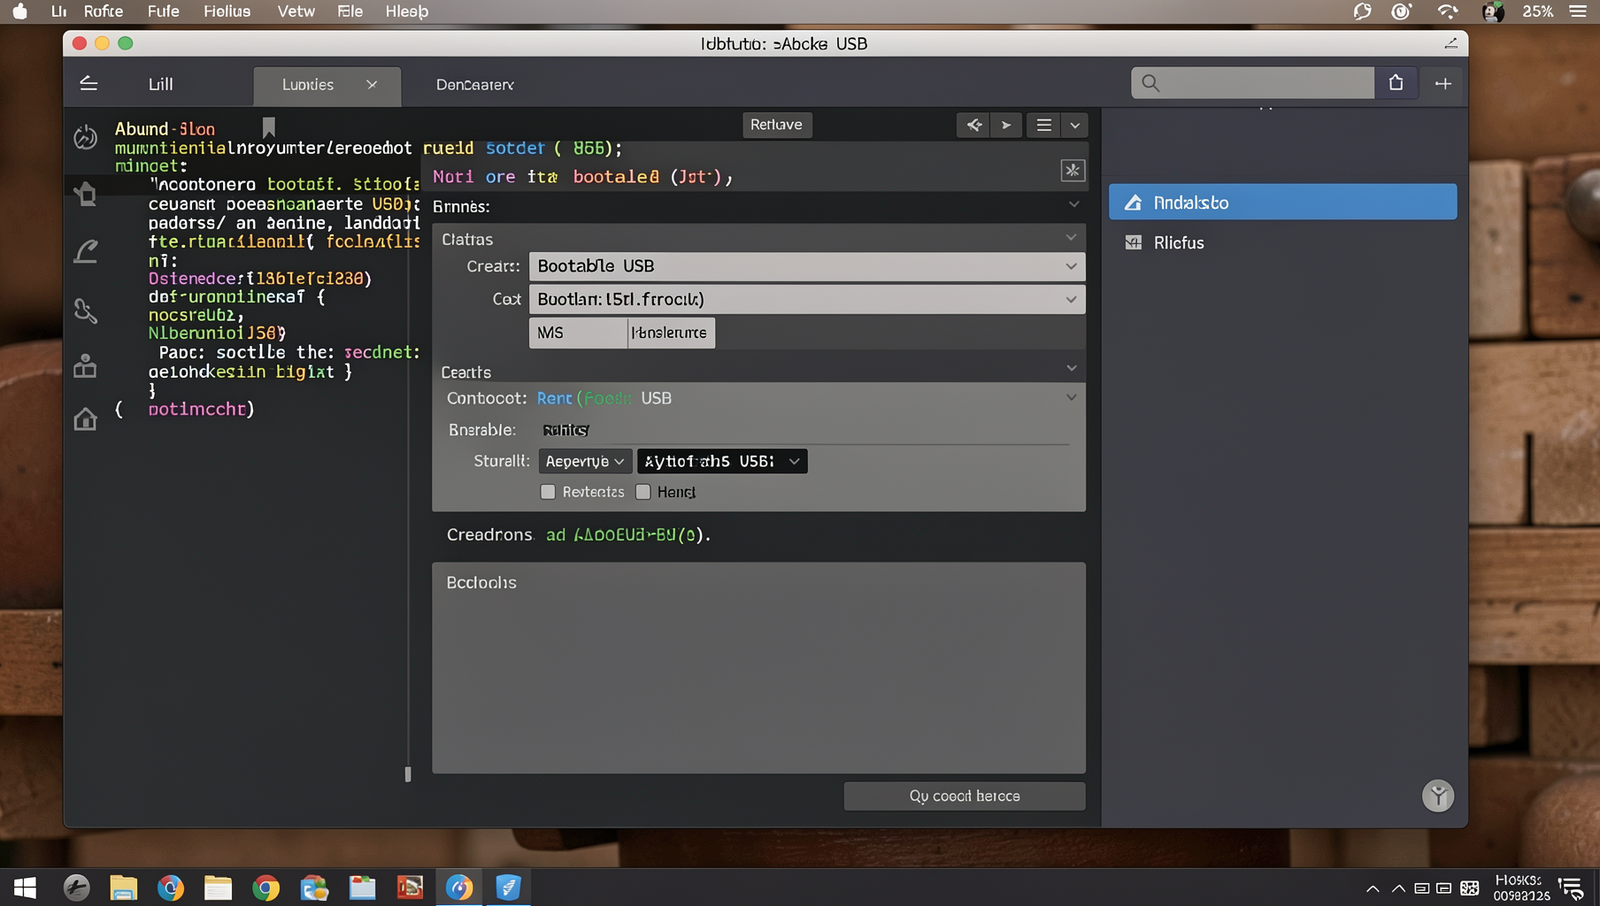
Creating a bootable USB drive is a crucial step in installing Linux Mint on your Windows PC. Follow these sub-steps carefully to ensure a successful setup.
1. **Prepare Your USB Drive**: Insert a USB drive with at least 4GB of storage into your computer. Make sure to back up any important data on the USB drive, as this process will erase all existing files.
2. **Download and Open Rufus**: Visit the official Rufus website and download the latest version of the software. Once downloaded, open Rufus. You may need administrative privileges to run the application.
3. **Select the USB Drive**: In Rufus, locate the “Device” dropdown menu and select your USB drive from the list. Ensure that you have the correct drive selected to avoid data loss on other drives.
4. **Choose the ISO File**: Click on the “Select” button next to the “Boot selection” section. Navigate to the location where you saved the Linux Mint ISO file and select it.
5. **Configure Partition Scheme**: For most modern systems, choose “GPT” as the partition scheme. If you are using an older BIOS system, select “MBR”.
6. **Start the Process**: Click the “Start” button to begin creating the bootable USB drive. A warning will appear, notifying you that all data on the USB drive will be erased. Confirm to proceed.
7. **Completion**: Once Rufus finishes the process, you will see a “Ready” status. Your bootable USB drive with Linux Mint is now ready for installation.
Remember to safely eject the USB drive before removing it from your computer.
Step 3: Prepare Your PC for Installation
1. **Back Up Your Important Data**: Before proceeding with the installation of Linux Mint, it is crucial to back up any important files and data on your Windows PC. Use an external hard drive, cloud storage, or any other reliable backup method to ensure that your data is safe in case anything goes wrong during the installation process.
2. **Restart Your PC**: Once your data is backed up, restart your computer. As it boots up, you will need to enter the BIOS or UEFI settings. This is typically done by pressing a specific key during the startup process, such as F2, F10, or Delete. The exact key may vary depending on your computer’s manufacturer, so consult your user manual if unsure.
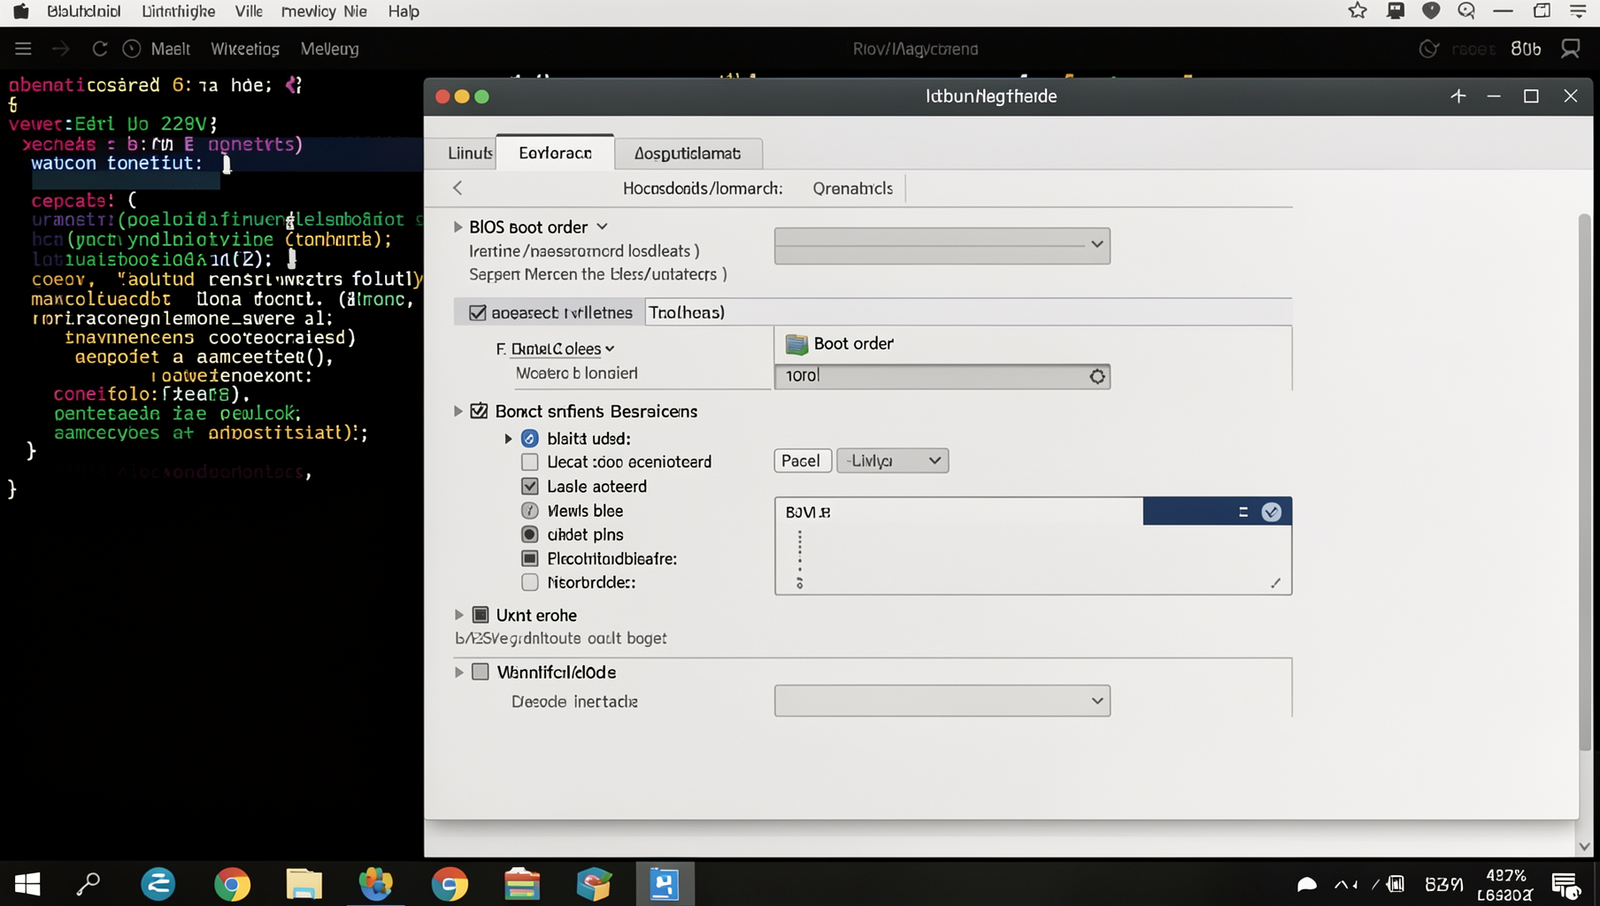
3. **Access BIOS/UEFI Settings**: After pressing the correct key, you will enter the BIOS or UEFI interface. Here, you will need to navigate to the boot options. Look for a tab or section labeled “Boot” or “Boot Order.”
4. **Set USB Drive as First Boot Device**: In the boot options, change the boot order to prioritize the USB drive. This means your computer will attempt to boot from the USB drive first before any other devices. Make sure to note down the original boot order in case you need to revert the changes later.
5. **Save Changes and Exit**: After adjusting the boot order, look for a ‘Save and Exit’ option in the BIOS/UEFI menu. Select this option to save your changes and restart your computer.
**Warning**: Be cautious when changing BIOS settings, as incorrect configurations can affect your system’s boot process. Proceed carefully and ensure you follow the steps accurately.
Step 4: Boot from the USB Drive
1. **Insert the USB Drive**: Begin by inserting the bootable USB drive containing the Linux Mint installation files into a USB port on your Windows PC. Ensure that the drive is securely connected.
2. **Restart Your PC**: After inserting the USB drive, restart your computer. You can do this by clicking on the Start menu, selecting the power icon, and then choosing “Restart.”
3. **Access Boot Menu**: As your computer restarts, pay close attention to the screen. You will need to access the boot menu, which allows you to choose the device from which to boot. This usually requires pressing a specific key, such as F12, Esc, or Del. The exact key varies by manufacturer, so look for a prompt on the screen indicating which key to press.
4. **Select USB Drive**: Once you access the boot menu, use the arrow keys to navigate to the option that corresponds to your USB drive. It may be labeled with the brand name of the USB or simply as “USB Device.” Select this option and press Enter.
5. **Load Linux Mint Live Session**: If everything is set up correctly, the Linux Mint live session should begin to load. You will see a welcome screen with options to “Try Linux Mint” or “Install Linux Mint.” Choose “Try Linux Mint” to explore the operating system without making any changes to your hard drive.
**Tips**: If you do not see the option to boot from the USB drive, you may need to adjust the boot order in your BIOS settings to prioritize USB devices.
**Warnings**: If the live session does not start, double-check the boot order settings and ensure that the USB drive is properly formatted and contains the correct installation files.
Step 5: Install Linux Mint
1. **Start the Installation**: Once you are in the live session of Linux Mint, locate the ‘Install Linux Mint’ icon on your desktop. Double-click this icon to launch the installation wizard.
2. **Select Language**: The first screen of the installation wizard will prompt you to select your preferred language. Choose the language you want to use during the installation process and click ‘Continue’.
3. **Keyboard Layout**: Next, you will be asked to select your keyboard layout. If you are unsure, you can click on the ‘Detect Keyboard Layout’ button to help identify the correct layout. After making your selection, click ‘Continue’.
4. **Installation Type**: You will now reach the installation type screen. If you are installing Linux Mint alongside Windows, ensure you have enough free space on your hard drive. Select the option that suits your needs, such as ‘Install Linux Mint alongside Windows’ or ‘Erase disk and install Linux Mint’. Be cautious with the latter option, as it will delete all data on the selected drive.
5. **Prepare for Installation**: The next screen will show you a summary of your choices. Review the information carefully. If everything looks correct, click ‘Install Now’ to proceed.
6. **Time Zone and User Setup**: After that, you will need to select your time zone and create a user account. Fill in the required fields, including your name, computer name, username, and password.
7. **Complete Installation**: Finally, the installation process will begin. This may take some time,