7 min read • 1,542 words
How to Upgrade Windows 11 to the Latest Version
Upgrading to the latest version of Windows 11 is essential for ensuring that your PC runs smoothly and securely. With regular updates, Microsoft introduces new features, performance improvements, and critical security patches that protect your device from vulnerabilities. In this article, you will learn how to upgrade Windows 11 effectively, ensuring that you take advantage of all the enhancements available. Understanding the upgrade process is crucial, especially if you want to maintain the integrity of your data and the performance of your system.
To successfully upgrade, you need to ensure that your PC meets the necessary requirements, including having TPM 2.0 and Secure Boot enabled. You can easily install updates via Windows Update in the Settings menu or use the Windows 11 Installation Assistant for a direct upgrade from Windows 10. Remember to back up your files before starting the upgrade process to prevent any data loss. Follow along to discover the steps you need to take for a seamless transition.
Step-by-Step Tutorial
Step 1: Check System Requirements
Before you begin the process of upgrading to the latest version of Windows 11, it is crucial to ensure that your PC meets the minimum system requirements. This step will help you avoid installation issues and ensure a smooth upgrade experience. Follow these sub-steps to check your system compatibility:
-
Verify Processor Compatibility: Windows 11 requires a compatible 64-bit processor with at least 1 GHz clock speed and a minimum of two cores. To check your processor, right-click on the Start menu, select
System, and look for the processor information under the “Device specifications” section. -
Check RAM Requirements: Ensure your PC has at least 4 GB of RAM. In the same
Systemwindow, you can find the installed RAM listed under “Device specifications.” -
Assess Storage Space: Windows 11 requires a minimum of 64 GB of available storage. You can check your available storage by going to
Settings>System>Storage. - Use the PC Health Check Tool: Microsoft offers a tool to verify if your PC is compatible with Windows 11. Download the PC Health Check tool from the official Microsoft website and run it. This tool will provide a detailed report on your system’s compatibility.
- Make a List of Current Applications: Before upgrading, make a list of your currently installed applications. This will help you check for compatibility issues with the new version of Windows 11.
By following these steps, you can ensure that your device is compatible with Windows 11, avoiding potential installation problems.
Step 2: Backup Your Data
Before you begin the upgrade process for Windows 11, it is crucial to back up all important files and data to prevent any potential loss. Follow these sub-steps to ensure your data is safely stored:
- Choose a Backup Method: Decide whether you want to use File History, OneDrive, or an external hard drive. Each method has its advantages, so choose one that suits your needs best.
-
Using File History:
Settings > Update & Security > Backup > Add a driveSelect an external drive or network location. Turn on File History to back up your files automatically.
-
Using OneDrive:
If you prefer cloud storage, ensure you have a OneDrive account. Move your important files to the OneDrive folder on your PC.Right-click > Move to > OneDriveThis will sync your files to the cloud, making them accessible from any device.
-
Using an External Hard Drive: Connect your external hard drive to your computer. Manually copy your important files and folders to the drive.
Drag and drop files to the external driveEnsure you include documents, photos, and any other critical data.
- Verify Your Backup: After backing up, check that all files are present in the chosen backup location. Open a few files to confirm they are accessible.
Remember, data loss can occur if the upgrade fails, so taking these precautions is essential. Consider using a cloud service for easy access to your files post-upgrade.
Step 3: Check for Updates
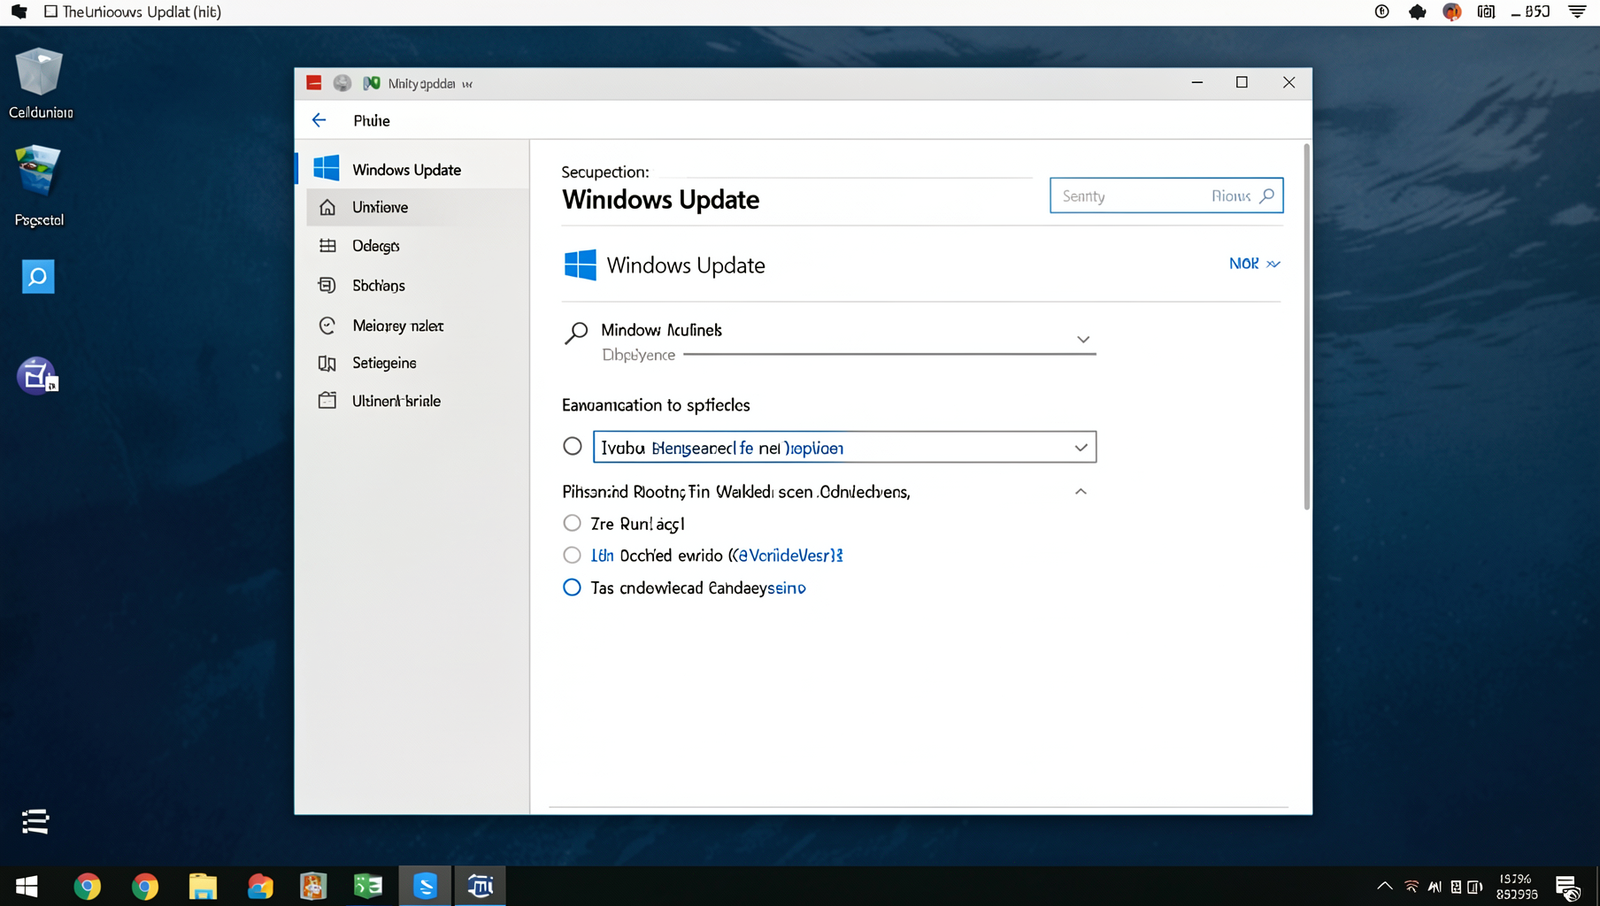
To ensure a smooth upgrade to the latest version of Windows 11, it is crucial to check for updates. Follow these detailed instructions:
- Open Settings: Click on the Start menu located at the bottom left corner of your screen. From the menu, select the gear icon to open the Settings app.
- Navigate to Windows Update: In the Settings window, locate and click on the “Windows Update” option. This is usually found in the left sidebar, under the “Update & Security” section.
- Check for Updates: Once you are in the Windows Update section, look for the button labeled “Check for updates.” Click on this button to initiate the update process. Windows will now search for any available updates for your system.
- Install Updates: If updates are found, you will see a list of available updates. Click on the “Download” and then “Install” buttons to begin the installation process. Make sure to follow any prompts that may appear during this process.
- Restart Your Computer: After the updates are installed, you may be prompted to restart your computer. It is important to do this to ensure that all updates are applied correctly.
To keep your system current in the future, consider enabling automatic updates. Additionally, check for optional updates, as they may include important features or enhancements. Skipping this step could lead to compatibility issues during the upgrade, so it is essential to ensure your system is up to date.
Step 4: Download the Windows 11 Upgrade Assistant
1. **Visit the Official Microsoft Website**: Open your preferred web browser and navigate to the official Microsoft website. It is crucial to ensure that you are on the legitimate site to avoid any security risks.
2. **Locate the Windows 11 Upgrade Assistant**: Once on the Microsoft homepage, use the search bar to type in “Windows 11 Upgrade Assistant.” Alternatively, you can browse through the Windows section to find the upgrade tools.
3. **Download the Upgrade Assistant**: Click on the link for the Windows 11 Upgrade Assistant. You will be directed to a page that provides detailed information about the tool. Look for the download button, which is usually prominently displayed. Click on it to start the download process.
4. **Check Your Internet Connection**: Before the download begins, ensure that your internet connection is stable. A reliable connection will help prevent interruptions during the download, which could lead to incomplete files.
5. **Monitor the Download Progress**: Depending on your internet speed, the download may take a few minutes. Keep an eye on the progress bar to confirm that the file is downloading correctly.
6. **Verify the File Size**: Once the download is complete, check the file size of the downloaded Upgrade Assistant. This will help you confirm that the download was successful and complete.
7. **Run the Upgrade Assistant**: After verifying the file, locate it in your downloads folder and double-click the file to run the Windows 11 Upgrade Assistant. Follow the on-screen instructions to proceed with the upgrade process.
Remember, always download software from the official Microsoft website to avoid potential malware or security threats.
Step 5: Run the Upgrade Assistant
1. **Locate the Downloaded File**: After downloading the Windows 11 Upgrade Assistant, navigate to your Downloads folder or the location where you saved the file. The file is typically named “Windows11Upgrade.exe”.
2. **Open the Upgrade Assistant**: Double-click on the “Windows11Upgrade.exe” file to launch the Upgrade Assistant. If prompted by User Account Control, click “Yes” to allow the application to run.
3. **Review Compatibility**: The Upgrade Assistant will begin checking your PC for compatibility with Windows 11. This process may take a few moments. Ensure that your device meets the minimum system requirements for Windows 11, including TPM 2.0 and Secure Boot capability.
4. **Follow On-Screen Instructions**: Once the compatibility check is complete, follow the on-screen instructions provided by the Upgrade Assistant. This may include accepting the license terms and selecting your preferred installation options.
5. **Start the Upgrade Process**: After confirming your choices, the Upgrade Assistant will begin downloading the necessary files for the upgrade. This step requires a stable internet connection, so ensure your device is connected to Wi-Fi or a wired network.
6. **Monitor the Installation**: As the installation progresses, your PC may restart several times. It is crucial to keep your device plugged in to avoid any power interruptions during this process.
7. **Completion**: Once the upgrade is finished, you will be greeted with the Windows 11 setup screen. Follow any additional prompts to personalize your settings.
**Important Warning**: Do not turn off your PC during the upgrade process, as this can lead to system instability or corruption.
Step 6: Complete the Installation
Once the upgrade process is complete, your PC will automatically restart. Follow these sub-steps to finalize the installation and ensure that your Windows 11 is set up correctly.
1. **Initial Setup**: After the restart, you will be greeted with a setup screen. Here, you will need to select your region and keyboard layout. Make sure to choose the correct